I’ve found a new shop to sell my cards and other crafts in and so was very busy making cards and boxes for Halloween to sell there. They are all pretty simple and basic, but I think they came out really well.
I made them using paper from a bunch of different paper pads from several years ago and used a lot of older stamps and stamp sets from various companies, such as Hampton Art, Fiskars, Hero Arts, Stampin’ Up!, Studio G, Hot Off the Press, etc. Most (if any) of them probably aren’t available anymore, but I like to go back and use older stamps, especially if I feel like I haven’t used my money's worth out of them yet. I also used a lot of my stitched and pierced layering dies, especially the circles. And for embellishments, I used mostly ribbons, brads, and rhinestones. I also applied either Glossy Accents, Wink of Stella, or both to many of the stamped images, though they are not very noticeable in the photos.
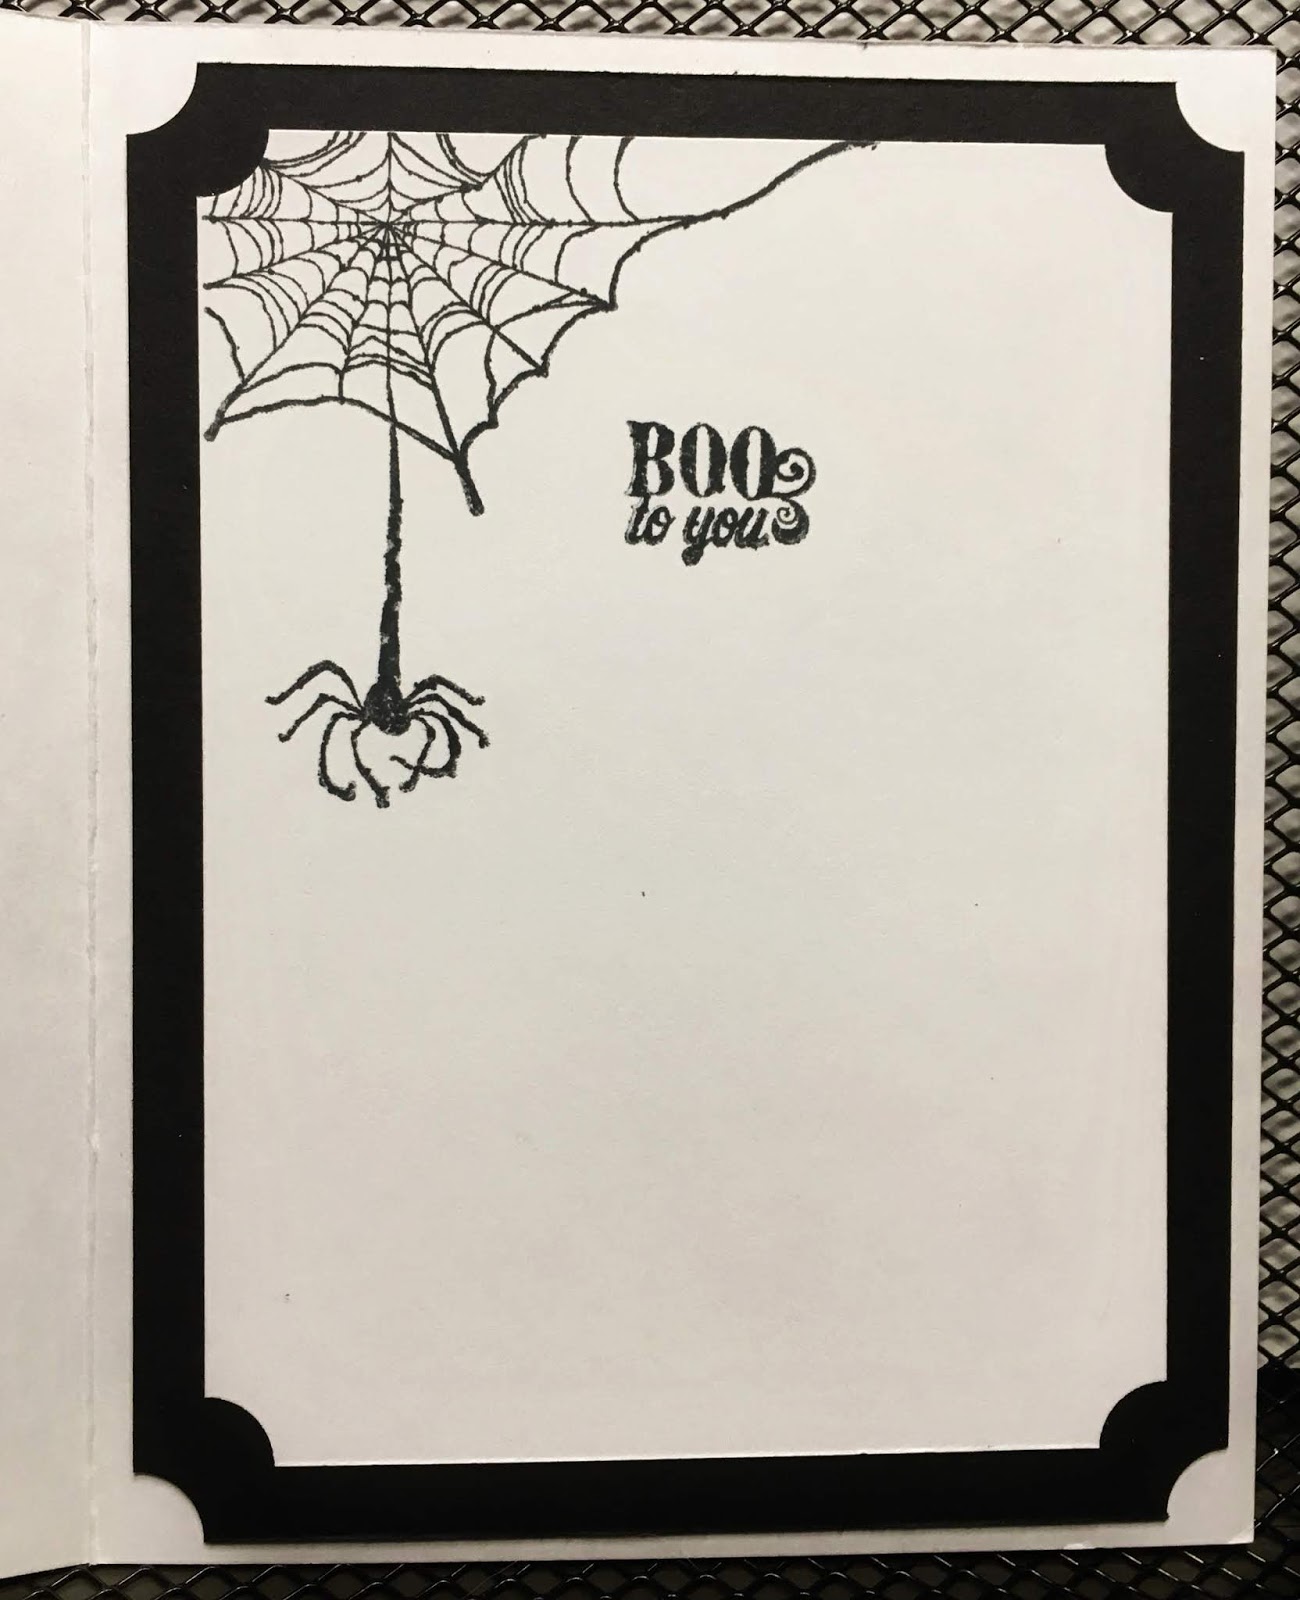
Because I needed to make a lot of cards quickly within a short time period, I had to keep them simple and make them all in a rather similar and formulaic way. So each card was basically comprised of a standard card base, a stamped image, diecut layers around the image, a patterned background, an embellishment or two, and usually a treatment (either the gloss or the glitter). And the inside usually had a sentiment, a small image, and the patterned paper. To make coloring the images quick and easy, I colored them all with Spectrum Noir alcohol markers and did not do very much shading. I also punched some of the corners too to shake things up a bit.
Whenever I am making a quick batch of one-of-a-kind cards for a specific occasion, such as Halloween, I go through a particular process:
1) First I go through all my related stamps and pull out the ones I think I might want to use.
2) Then I go through all of my related patterned papers, pulling out ones I think will work the best.
3) Next, I go through my embellishments and pull out the ones I plan on using.
4) In the next steps, I work on the images. I stamp them all, then color them, then add a treatment to the ones I want.
5) Once all the images are done, then I will take each image one by one and make a card for it. For each image, I start by picking out a patterned paper that looks good with it, and then I pick out a matching color of cardstock. I think about what kind of layering I want to do and then pick out colored cardstock for them too. Next, I do cutting. I might handcut an image, or diecut it or around it, and I might diecut some layers to go behind it as well. I might also do some corner punching, or add brads or such. Then I put the front all together and add any additional embellishments. The inside of the card is based on whatever I did on the outside, but they are all done similarly and, as I described earlier, are basically just a sentiment, a small image ( not necessarily colored in), and a background of the patterned paper. Then all there is left to do is to stamp my maker’s stamp on the back.
For the boxes, I used a gable box die from Stamps of Life, thick black cardstock, and the same patterned papers that I used on the cards. I diecut small hexagonal windows on one side of the box (dies from Nicole Petersen Designs) and attached acetate to the inside to cover the window. Then I used the hexagon cutouts to make little gift tags which I tied onto the boxes with raffia.
Below are photos of both the outside and inside of each card, with a couple photos of the boxes at the end.


No comments:
Post a Comment