Showing posts with label Stampin' Up. Show all posts

Wednesday, October 3, 2018

My Halloween Cards for 2018


I’ve found a new shop to sell my cards and other crafts in and so was very busy making cards and boxes for Halloween to sell there. They are all pretty simple and basic, but I think they came out really well.

I made them using paper from a bunch of different paper pads from several years ago and used a lot of older stamps and stamp sets from various companies, such as Hampton Art, Fiskars, Hero Arts, Stampin’ Up!, Studio G, Hot Off the Press, etc. Most (if any) of them probably aren’t available anymore, but I like to go back and use older stamps, especially if I feel like I haven’t used my money's worth out of them yet. I also used a lot of my stitched and pierced layering dies, especially the circles. And for embellishments, I used mostly ribbons, brads, and rhinestones. I also applied either Glossy Accents, Wink of Stella, or both to many of the stamped images, though they are not very noticeable in the photos.

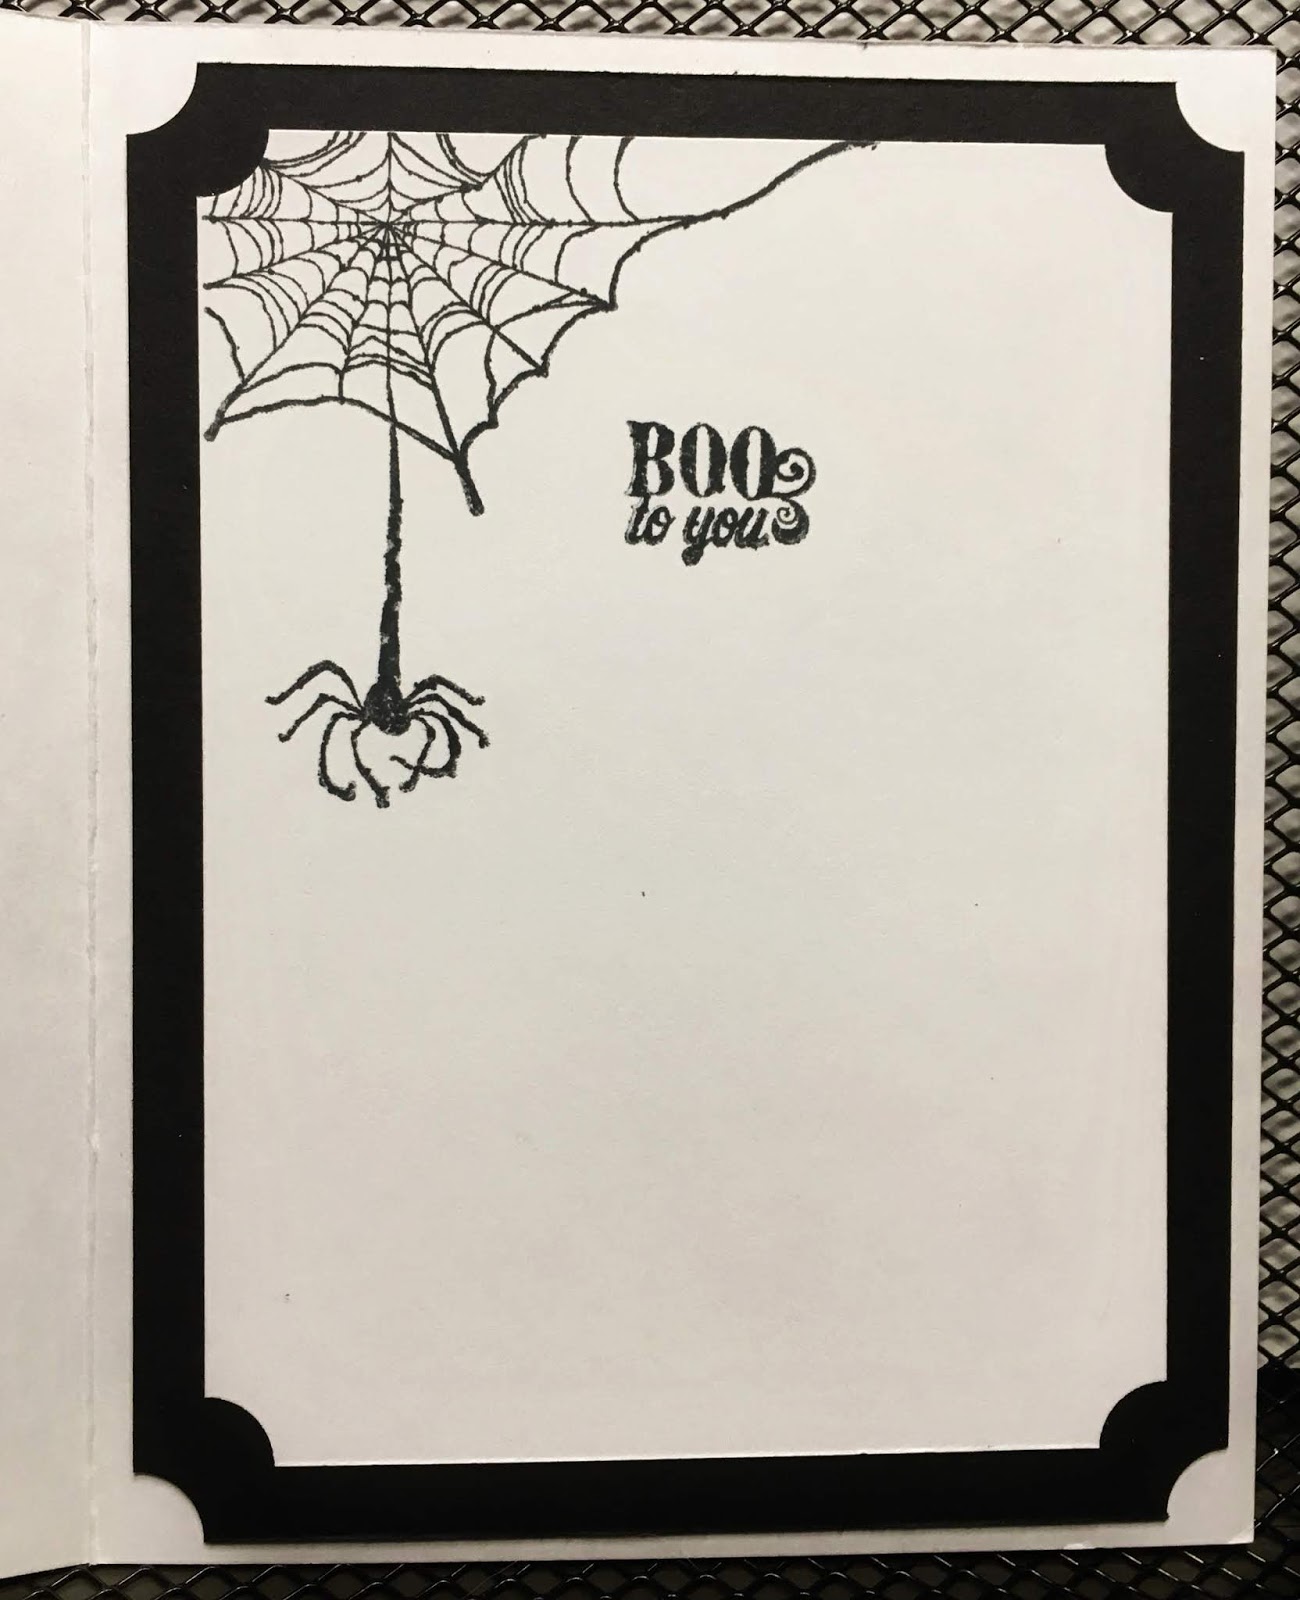
Because I needed to make a lot of cards quickly within a short time period, I had to keep them simple and make them all in a rather similar and formulaic way. So each card was basically comprised of a standard card base, a stamped image, diecut layers around the image, a patterned background, an embellishment or two, and usually a treatment (either the gloss or the glitter).  And the inside usually had a sentiment, a small image, and the patterned paper. To make coloring the images quick and easy, I colored them all with Spectrum Noir alcohol markers and did not do very much shading. I also punched some of the corners too to shake things up a bit.

Whenever I am making a quick batch of one-of-a-kind cards for a specific occasion, such as Halloween, I go through a particular process:
1) First I go through all my related stamps and pull out the ones I think I might want to use.
2) Then I go through all of my related patterned papers, pulling out ones I think will work the best.
3) Next, I go through my embellishments and pull out the ones I plan on using.
4) In the next steps, I work on the images. I stamp them all, then color them, then add a treatment to the ones I want.
5) Once all the images are done, then I will take each image one by one and make a card for it. For each image, I start by picking out a patterned paper that looks good with it, and then I pick out a matching color of cardstock. I think about what kind of layering I want to do and then pick out colored cardstock for them too. Next, I do cutting. I might handcut an image, or diecut it or around it, and I might diecut some layers to go behind it as well. I might also do some corner punching, or add brads or such. Then I put the front all together and add any additional embellishments. The inside of the card is based on whatever I did on the outside, but they are all done similarly and, as I described earlier, are basically just a sentiment, a small image ( not necessarily colored in), and a background of the patterned paper. Then all there is left to do is to stamp my maker’s stamp on the back.

For the boxes, I used a gable box die from Stamps of Life, thick black cardstock, and the same patterned papers that I used on the cards. I diecut small hexagonal windows on one side of the box (dies from Nicole Petersen Designs) and attached acetate to the inside to cover the window. Then I used the hexagon cutouts to make little gift tags which I tied onto the boxes with raffia.

Below are photos of both the outside and inside of each card, with a couple photos of the boxes at the end.


Sunday, September 30, 2018

The Perfect Card for Your Old Man

Went to the Stamp & Scrapbook Expo in Marlboro, Mass in September. Very much into Art Impressions stamps right now, so theirs was the first booth I raided. While I was there, I found the perfect stamp for my dad, which was great because I still had not made him a birthday card & his birthday was 2 days after I got back! So this is what I came up with:


My family has joked for years about how Dad always falls asleep in HIS chair, with HIS remote, and his bag of snacks, while watching the 10 o'clock "Snews" (snooze). So when I saw the stamp, I knew THAT was going to be my Dad's bday card this year! 

I added a lamp 'cuz Dad has to have a lamp behind his chair. And then to make it into a birthday theme, I added a few small balloons and some baker's twine, which I wrapped around his foot since I couldn't figure out where else to put them. (Besides, I thought it was cute to imagine that someone had come by and tied the balloons to his foot as he slept so he'd have a little birthday surprise when he woke up.) And I also added a birthday hat with  a tiny pompom and a "Happy Birthday" sentiment. Everything was popped up with foam dots. 

This inside sentiment said, "Take a nap. You deserve it." with a bunch of "zzzzz" stamps added as well. He seemed to really like it. He chuckled at it.

Specifics used:
  • Lazy Boy stamp (Art Impressions)
  • lamp stamp (old Art Impressions)
  • mini balloon punch (EK Success)
  • tiny red pompom (Queen & Co.)
  • Spectrum Noir alcohol markers
  • Cable Knit embossing folder (Stampin' Up!)
  • Classic Label punch (Stampin' Up!)
Enjoy your day! Ta!

Tuesday, December 19, 2017

Christmas card using Stampin' Up!'s Ready for Christmas bundle

Been very busy making Christmas cards with my class these past two months. I’m planning to post photos and instructions of some of them.

Here’s the first one, featuring the Ready for Christmas stamp & die bundle from Stampin’ Up. I did two versions of it, one basic one, & one detailed one.


Ready for Christmas Z-Fold Card

Cardstock & Paper:
²  Any color 4¼” x 11”, scored at 2¾” & 5½” (card base)
²  White
   o   2¼” x 3¼” (staircase w/o railing)
   o   ½” x 11” (Z-fold stabilizer)
   o   1” square (picture sentiment)
   o   Misc. scraps (to stamp as desired)
   o   2½” x 3¼” (window scene-optional)
²  Emerald Envy
   o   3” x 4¼” (tree)
   o   2½” x 3¼” (garland)
²  Real Red
   o   2” square (picture frame)
   o   ¾” x 3” (Santa’s pants)
   o   Scraps (bows)
   ²  Black scrap (Santa’s boots)
²  Marina Mist
   o   ½” x 2¾” (fireplace mantle)
   o   3” x 3½” (window-optional)
²  Soft Suede 2¾” x 4¼” (fireplace)
²  Any brown scraps
   o   3¼” x 4” (staircase)
   o   Scraps (dog & table-optional)
²  Patterned paper for “wallpaper”:
   o   Yellow 2¾” x 4¼” (staircase panel)
   o   Blue 4¼” x 5½” (tree panel)
²  Clear Acetate 2½” x 3¼” (window-optional)
²  Misc. patterned paper scraps (for die-cutting as desired)
²  Misc. foil, glitter, etc. scraps (star & ornaments)

Ink Pads:
²  Memento Black
²  Garden Green
²  Chocolate Chip
²  Real Red

Stamps:
²  Ready for Christmas (SU)
²  Nature Sings (SU)
²  Misc. Christmas Mini Sets (Hot Off the Press)

Punches:
²  Modern Label (SU)
²  Small heart (EK Success)

Cutting Dies:
²  Christmas Staircase (SU)
²  Hearth & Home (SU)
²  Layering Squares: 1¾” scalloped square (SU)

Embossing Folders:
²  Brick Wall 6” x 6” (SU)

Tools:
²  Paper Trimmer
²  Personal Trimmer
²  Big Shot
²  Scissors
²  Clear Blocks
²  Foam Mat (for stamping and/or paper piercing)
²  Non-stick Craft Sheet
²  Paper Piercer
²  Bone Folder
²  Tweezers
²  Scoring Board
²  Stamp-a-ma-jig
²  Pencil w/eraser

Adhesives:
²  Tape Runner w/refills
²  Red Liner Tape or Score Tape
²  Mini Glue Dots
²  Adhesive Remover Square
²  Washi Tape

Coloring:
²  Colored pencils
²  Pencil Sharpener
²  Markers

Preparing Your Card Base: 
1)     Hold your card base horizontally with the fold on the left. Fold the card front in half towards the left to make a Z-fold. Press with bone folder.

2)     Fold the ½” x 11” white strip in half, then fold one of the halves in half again so strip is Z-folded like card base. Flatten with bone folder. This white strip is added to the card to act as a stabilizer. It is to prevent the card from tipping over while it is standing up on display stretched open.
3)     Open the card flat so that the 2 short panels are on the left & the long panel is on the right. Put a strip of red liner tape along the bottom edge of the left card base panel only & peel off liner.
4)     Hold the long end of the white strip so the zig-zag is on the right going to the back away from you & attach the left half of the long end to the bottom of the left card panel.
5)     Put red liner tape on back of the right section of the white strip & peel off liner. Smooth down the white strip from left to right & attach the right end of it to bottom edge of the right card panel.
6)     Attach yellow & blue “wallpapers” to card. *Note* the blue one needs about a ½” slit cut right in the middle at the bottom so it will slide into place to either side of the white strip.

Fireplace:
1)     Use Memento to ink up the inside of the brick wall embossing folder on the half that has the Sizzix logo on it. Try to get a little stray ink inside the bricks, but not too much. It will make the bricks look a little more realistic & dimensional.

2)     Place your paper on the other, un-inked half of the folder, making sure that the bricks are running across the paper the short way. Carefully close the folder so your paper doesn’t shift & run it, folded edge first, through the machine.
3)     Cut out a rectangular opening for the fireplace. Attach Santa’s legs & boots to the fireplace before attaching it to card base.
Santa Legs & Boots:
1)     Use the Modern Label punch on the ¾” x 3” red piece. Cut the piece in half & attach them to the back of the fireplace so they are hanging inside the opening, scalloped end down.
2)     Punch 2 small black hearts & attach to back of ends of legs so they look like boots. (One lobe of each heart is behind the legs.)
3)     Attach fireplace to middle panel of card base.


Window:
1)     Die cut the window out of the blue paper.
2)     Place the window centered over the white piece & use a pencil to lightly trace each of the 4 outer corners of the window panes. These lines will serve as a guide to where your stamping area is.
3)     Stamp the reindeer & stamp the trees twice. If you want the stamps to have precise placement, use a Stamp-a-ma-jig. 
4)     Color in the images. Color the trees lightly & blotchily so it looks like there is snow on them.
5)     Erase the pencil lines.
6)     Attach the clear acetate to the back of the window frame, then attach the winter scene to the back of the acetate.
7)     Attach the window to the left side of the third card panel so the frame is flush to the corner by the fireplace & so it is about ½” from the top edge of the card.


Saturday, October 28, 2017

Thanksgiving Wood Crate


Hiya Everybody!

Today I am showing you another project I created for my October card class. This one is a Thanksgiving Wood Crate (made out of paper, of course!). The crate is made using the Stampin’ Up! Wood Crate Framelits. I used Soft Suede cardstock, stamped both sides with the Hardwood background stamp, and then diecut the crate out of it. It really looks like wood! At class, we filled our crates with Hershey Kisses.

If you would like the complete instructions, or even just a supply list, send me an email.

The crate is perfect for this time of year, but it can also be used all year long depending on how you decorate it. 

If you have any comments, questions, or suggestions, click on the comment button below and let me know!

I hope you’ll enjoy this project!

Happy crafting,
~Dawn


Wednesday, October 25, 2017

Maple Leaf Fall / Thanksgiving Shaker Card


Hiya everyone!

 This is one of the cards that I designed for my card class last weekend. It's a fall/Thankgiving shaker card. I made 2 different versions: one with seed beads as the shaker & one with chunky orange glitter. (see photo below) I got the idea for this card based off of a card I saw on Pinterest. I changed it up quite a lot though with different paper colors, an embossed background, and the addition of the patterned paper & the "So Grateful For You" sentiment. The inside is completely my own. (see photo below)

As often as possible, I try t0 make my class cards a little more universal in that they don't have to be use for the occasion they were originally designed. Sometimes I try to make them so that my card ladies can change the card into whatever occasion they desire, and my co-instructor and I always make sure to have extra stamp sets (especially those with sentiments) and other supplies on hand so that they can easily do so. We always encourage our ladies to let their creativity flow and change up the cards however they'd like. So with this card, I made it so that it can be used for Thanksgiving, or as a thank you card, or, by changing the sentiments, a birthday card, or whatever.


Maple Leaf Fall/Thanksgiving Window Shaker Card
           by Dawn U.K. – Oct. 2017

Techniques Explored:
1)   Watercoloring with ink pads & a brush
2)   Stamping with markers
3)   Making a shaker card

Cardstock & Paper:
²  Very Vanilla: 
   o 5½” x 8½”, scored at 4¼”
   o 3¾” x 5”
²  Wild Wasabi: 
   o 4¼” x 5½”
   o 4” x 5¼”
²  Delightful Dijon:  4” x 4”
²  Whisper White thick cardstock: 4¼” x 4¼”
²  Fall Patterned Paper: 2” x 5½”
²  White Foam: 4” x 4”
²  Clear Acetate: 4” x 4”

Ink Pads:
²  Black StazOn
²  Wild Wasabi 
²  Soft Sky 

Stamps:
²  Seasonally Scattered (S.U.-retired)
²  Happy Scenes (S.U.-retired)
²  Light-hearted Leaves (S.U.-retired)

  Cutting Dies:
²  Leaflets Framelits (S.U.)
²  3¾” Circle (Sizzix)

Embossing Folders:
²  Foliage (Darice)

 Other Supplies:
²  Ugly washi tape
²  #3 paint brush
²  Container for water
²  2014-2016 In Color Markers: Tangelo Twist, Hello Honey, Mossy Meadow (S.U.-retired)
²  Seed beads or small chunky glitter in orange, dark yellow, &/or green
²  Swiffer sheet
²  Big Shot 
²  Adhesive Remover Square
²  Silicone Craft Sheet 
²  Snail Adhesive
²  Tombow Liquid Glue
²  Stampin’ Pierce Mat 
²  Paper Snips 
²  Stampin’ Trimmer 
²  Bone Folder 
²  Clear Blocks

Instructions:
1)   Take the 4¼” x 4¼” heavy white cardstock piece & stamp the fall scene (from Happy Scenes) in the center using StazOn Black ink pad. To get the best results, use a stamping mat, & stamp while standing up to get the  most even pressure. Hold the stamp in place for about 10 seconds to allow the ink some time to absorb into the paper. The stamp will probably be stuck to the paper, so peel it off carefully.

2)   Let the ink dry for a minute, then watercolor the sky & grass by using a paintbrush, a little water, & an ink pad to color the image. Here’s how:  The image is stamped in StazOn, a solvent ink, which does not bleed when wet. The coloring is done with dye inks, which do interact with water, but not with the StazOn. To do the sky, take the Soft Sky ink pad &, while closed, squeeze it together with your hands. Now open the ink pad; some of the ink should be pooled on the inside cover of the pad. If not, then close it again & squeeze harder this time! J (If it still doesn't work, you may need to re-ink your ink pad.) Take a small paintbrush (a #2, 3, or 4), dip it into the water, tap it off on the edge of the container to knock off excess water drops (you do not want your brush dripping wet), & then dip the tip of the brush into the edge of the pooled ink. Swirl the brush tip around to get some of the watered-down ink onto the brush, & then, with broad strokes, quickly brush over the sky area of the image all the way to the top of the paper. Try not to color over the same areas too many times; you do not want to get the paper too wet or it will begin to pill & possibly tear. Once the sky is done, watercolor the grass with Wild Wasabi ink all the way to the bottom of the paper using the same technique. 

3)   Either wait for your paper to dry, or hit it with a heat gun for a bit. It is normal for the paper to curl or buckle a little as it dries, but this won't be a problem. Once your paper has dried, color in the leaves & pumpkins with markers as desired.

4)   For the die-cutting, take the 4” x 4” piece of Delightful Dijon & the 4” x 4” foam piece & cut a 3¾” circle & a large maple leaf (from Leaflets Framelits) out of them. You can cut through both sheets with both dies at the same time. Use some ugly washi tape to hold the dies in place while running them through the machine. 

5)   Die cut a 3¾” circle from the piece of acetate. You have to cut the acetate by itself; the die will not cut through multiple layers when one of them is acetate. Again, use the ugly washi to hold the die in place.

6)   Decide which way you want your leaf cutout to go by placing it over the stamped scene. Once you’ve decided, put down the non-stick mat, & place the foam circle/leaf window on it so that it lies face-down on the table. Cover it entirely with tape runner all the way to the edges, especially around the leaf opening, but try not to get any adhesive on the inside of the leaf opening. Use the adhesive remover square to pick up any stray adhesive. Do not use glue as glue will only absorb into the foam & end up not sticking to anything. Then position the leaf window over the scene image & press it down firmly all over, especially around the leaf opening. Trim off any excess paper around the foam circle.

7)   Again, cover the entire piece of foam with tape runner adhesive. Be careful not to get any adhesive inside the leaf cutout. Be sure to get adhesive all around the edges of the leaf so your shaker contents won’t leak out.

8)   Decide what you want to put inside the leaf for your shaker. Seed beads or small, chunky glitter both work perfectly. Now place several pinches of whatever you have chosen into the center of the leaf, maybe about a half teaspoon worth or so.

9)   Take your acetate circle & wipe both sides of it with a dry Swiffer pad to release some of its static electricity, then carefully place it on top of the shaker. Press it on firmly, especially around the leaf edges & rub over all of the adhesive areas to make sure there is a strong hold. Trim off any over-hanging edges.

10) Test your shaker. I know you want to. J Unless you are perfect (which no one is), it is normal for some of the beads or glitter to stick to the edges of the leaf due to some stray adhesive.

11) Stamp the “So Grateful for You” sentiment on the front of the Dijon circle with the leaf cutout. To do this, place the sentiment on an acrylic block so that it is curved, then hold it over the Dijon circle to see where& how much adjusting is needed to bend the stamp to match it to the shape of the circle. Continue to adjust it until the curve of the stamp roughly matches the curve of the circle. If the stamp doesn’t want to shape or stick to the block, the back of the stamp (and/or the stamp block) just needs to be washed. Color the stamp with marker ink (dye ink only!) I used Mossy Meadow on the word “grateful” & Tangerine Tango on the rest. Be sure to huff on the stamp first to remoisten the ink before stamping on the paper.

12) Put tape runner all over the back of the Dijon circle with the leaf cutout. Be sure to get all the edges around the leaf covered. Remember to use the adhesive remover square to pick up any stray adhesive.

13)  Carefully place the Dijon circle onto the shaker, making sure to line up the leaf cutout in the foam with the leaf cutout of the paper as best as you can. Press & rub the paper all over. Trim off any excess edges hanging out.

14) For the card inside: take the 3¾” x 5” piece of Vanilla cardstock & stamp the word “Thanks” on it (from the Seasonally Scattered stamp set). Use the Tangelo Twist, Hello Honey, & Mossy Meadow markers to randomly color the entire stamp. When coloring a stamp, always go from the lightest color to the darkest so that dark ink doesn’t end up on the tip of the light marker. Just do random scribbles of color here & there, making sure the entire stamp is covered with ink, then huff on the stamp before stamping.

15) Take the 4” x 5¼” piece of Wild Wasabi  & attach it to the card inside.

16) Emboss the leftover Dijon leaf & the 4¼” x 5½” piece of Wild Wasabi using the Foliage embossing folder.

17) Attach the Dijon leaf to the leftover foam leaf. Remember: no glue on foam. Use tape runner.

18) Attach the leaf to the “thanks” piece crookedly so that some of the leaf hangs off the left edge of the paper & then trim off the overhang.  Attach the Vanilla “thanks” piece to the card inside.

19) For the card front you have your choice of adhesives. Since the Wasabi paper is embossed & the shaker a little heavy, I prefer to attach everything using craft glue because I think it has a better hold on uneven (i.e. embossed) surfaces & has a stronger hold to keep the shaker attached. But you can use whatever adhesive you prefer. 

20) Glue the Wild Wasabi piece to the card front. Be sure to rub it down & press on it for 15 seconds or so to give the glue a chance to set. Trim off any excess.

21) Glue the strip of patterned paper vertically in the center of the card front, and them press & trim as before.

22) Glue the shaker to the center of the card. The glue will give you a few seconds to mess around with the positioning so you can get it “just so”. Once in place, press on it for about 30 seconds or so to make sure that it sticks to the embossed surface.

I hope you will give this card a try. It isn't very complicated; it just has a lot of steps.

I welcome any and all comments, so please feel free to let me know what you think of this project. If you made it, let me know how it turned out. Were my instructions clear and accurate? Was the print they were typed in too small? Did you enjoy this project? What changes did you make to the design of the card? I'm really interested in hearing from you!

Until next time, take care & happy crafting!

~Dawn

Fall & Thanksgiving Cards & Pumpkin Boxes 2018

Hello everyone! I am finally posting photos of the pumpkin boxes and Thanksgiving and Fall cards that I made for the shop! The shop is calle...