Showing posts with label autumn. Show all posts

Wednesday, October 3, 2018

My Halloween Cards for 2018


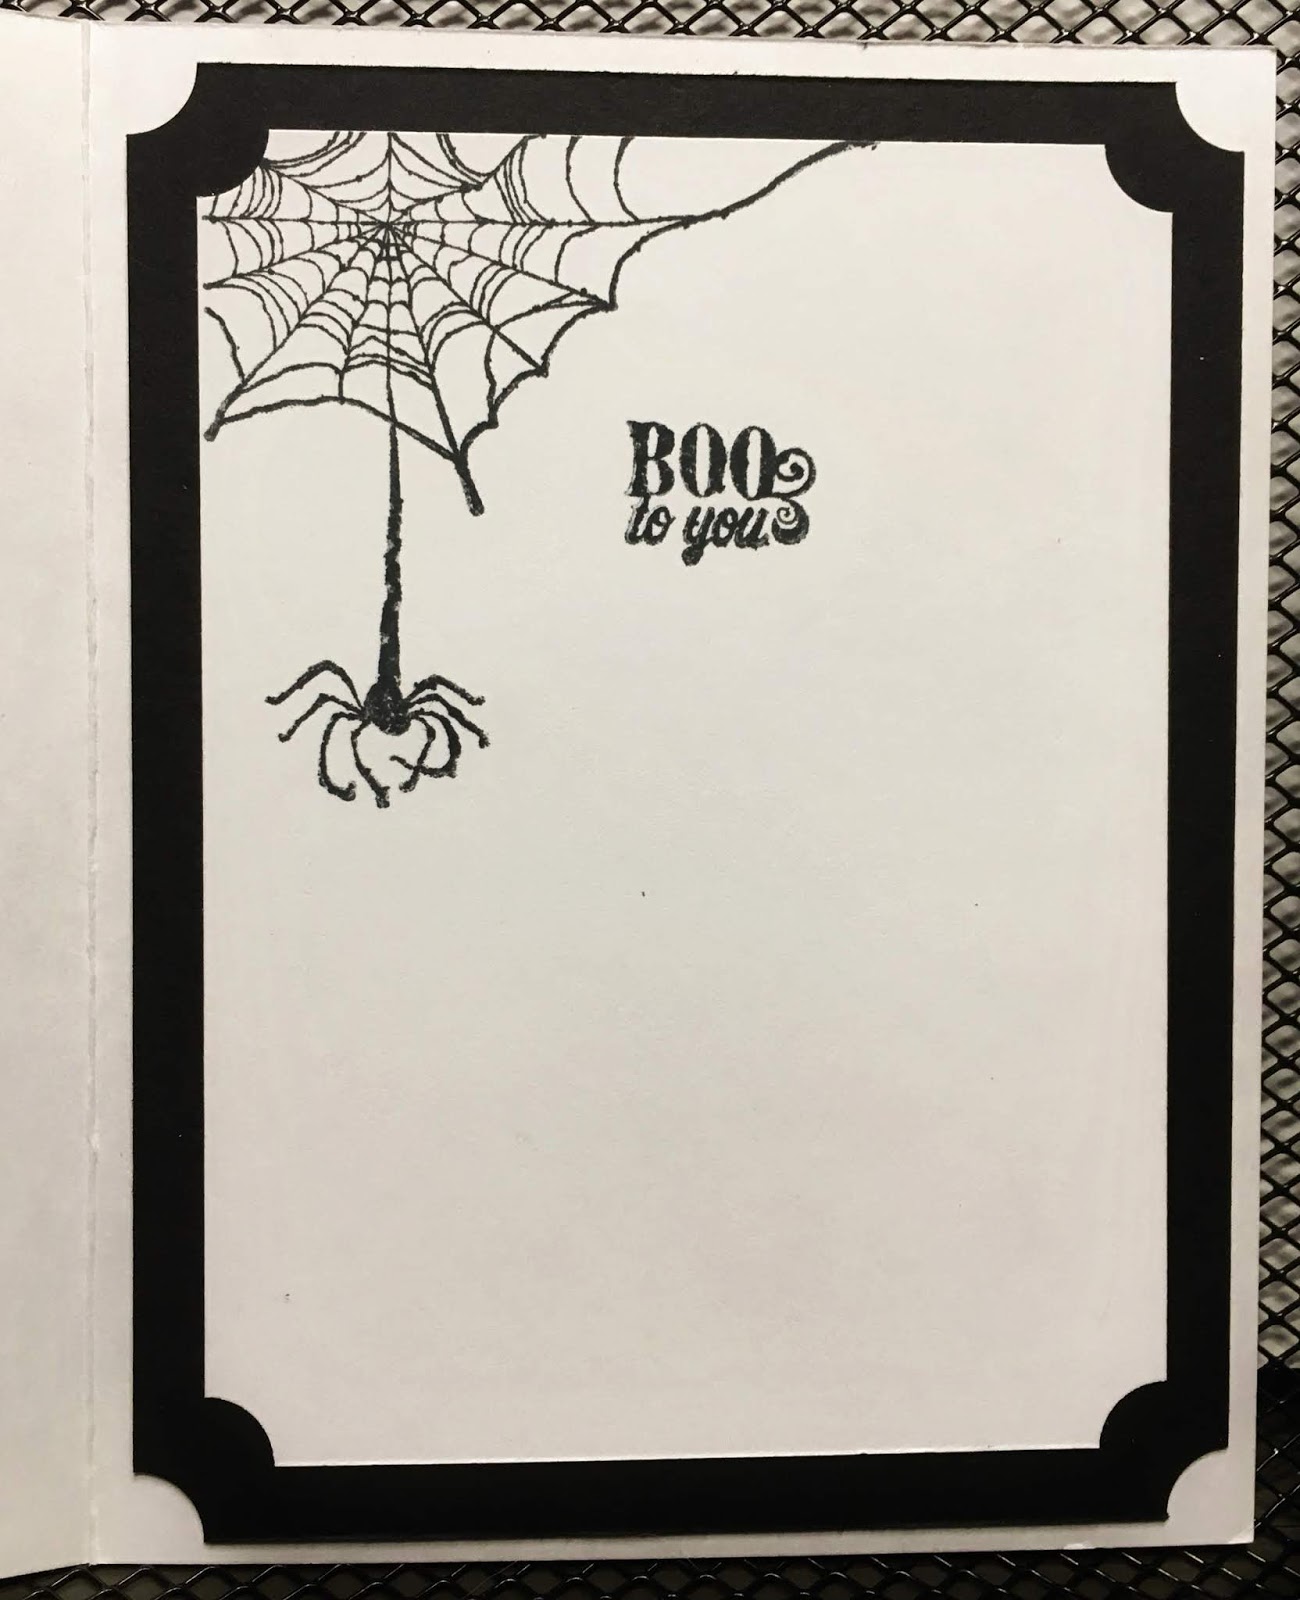
I’ve found a new shop to sell my cards and other crafts in and so was very busy making cards and boxes for Halloween to sell there. They are all pretty simple and basic, but I think they came out really well.

I made them using paper from a bunch of different paper pads from several years ago and used a lot of older stamps and stamp sets from various companies, such as Hampton Art, Fiskars, Hero Arts, Stampin’ Up!, Studio G, Hot Off the Press, etc. Most (if any) of them probably aren’t available anymore, but I like to go back and use older stamps, especially if I feel like I haven’t used my money's worth out of them yet. I also used a lot of my stitched and pierced layering dies, especially the circles. And for embellishments, I used mostly ribbons, brads, and rhinestones. I also applied either Glossy Accents, Wink of Stella, or both to many of the stamped images, though they are not very noticeable in the photos.

Because I needed to make a lot of cards quickly within a short time period, I had to keep them simple and make them all in a rather similar and formulaic way. So each card was basically comprised of a standard card base, a stamped image, diecut layers around the image, a patterned background, an embellishment or two, and usually a treatment (either the gloss or the glitter).  And the inside usually had a sentiment, a small image, and the patterned paper. To make coloring the images quick and easy, I colored them all with Spectrum Noir alcohol markers and did not do very much shading. I also punched some of the corners too to shake things up a bit.

Whenever I am making a quick batch of one-of-a-kind cards for a specific occasion, such as Halloween, I go through a particular process:
1) First I go through all my related stamps and pull out the ones I think I might want to use.
2) Then I go through all of my related patterned papers, pulling out ones I think will work the best.
3) Next, I go through my embellishments and pull out the ones I plan on using.
4) In the next steps, I work on the images. I stamp them all, then color them, then add a treatment to the ones I want.
5) Once all the images are done, then I will take each image one by one and make a card for it. For each image, I start by picking out a patterned paper that looks good with it, and then I pick out a matching color of cardstock. I think about what kind of layering I want to do and then pick out colored cardstock for them too. Next, I do cutting. I might handcut an image, or diecut it or around it, and I might diecut some layers to go behind it as well. I might also do some corner punching, or add brads or such. Then I put the front all together and add any additional embellishments. The inside of the card is based on whatever I did on the outside, but they are all done similarly and, as I described earlier, are basically just a sentiment, a small image ( not necessarily colored in), and a background of the patterned paper. Then all there is left to do is to stamp my maker’s stamp on the back.

For the boxes, I used a gable box die from Stamps of Life, thick black cardstock, and the same patterned papers that I used on the cards. I diecut small hexagonal windows on one side of the box (dies from Nicole Petersen Designs) and attached acetate to the inside to cover the window. Then I used the hexagon cutouts to make little gift tags which I tied onto the boxes with raffia.

Below are photos of both the outside and inside of each card, with a couple photos of the boxes at the end.




Sunday, November 5, 2017

Harvest Tri-fold Watercolor Card


Harvest Tri-fold Watercolor Card

Here's a card I did with my class in September. It's a Harvest Tri-fold Watercolor Card using the "Harvest" Try-fold stamp set from Art Impressions. I used it to give the ladies a mini-lesson on watercoloring using watercolor pencils. It was a pretty simple card to do.

Card with left flap open
Card with both flaps open
Close-up of center panel art

Harvest Tri-fold Watercolor Card

Techniques Explored:
1)   Making a tri-fold card
2)   Watercoloring with watercolor pencils

Supplies:
Cardstock& Paper:
-  Whisper White: 5¼” x 11”, scored 3⅝” from each end
Ink Pads:
-  StazOn Jet Black
Stamps:
-  Harvest “Try-Fold” (Art Impressions)
-  Miscellaneous Fall & Thanksgiving stamp sets (for sentiments)
Other Supplies:
-  Watercolor Pencils
-  Aqua Painters (aka water brushes)
-  Bone Folder 
-  Paper Snips (aka scissors)
-  Pencil Sharpener
-  6” Ruler
-  Pencil w/eraser
-  Paper towels
-  Clear Blocks

Instructions:
1)   Do not fold the paper yet. Stamp & watercolor it first, as it is easier to do when the paper is left flat.
2)   First, using black StazOn ink, stamp the barn image in the center section of the card, about ½” from the top of the paper. You need to use a solvent or alcohol-based ink, such as StazOn, when watercoloring. The StazOn ink will not bleed or run when water is applied to it, unlike dye ink which is water-based.
3)   Turn the card over (make sure the barn is still upright on the other side)& stamp the fence& barrel image on the right panel next to the score line, about 1½” from the top.
4)   Stamp the wagon image on the left panel next to the score line, about 2” from the top.
5)   Next, watercolor the images using watercolor pencils.
How to watercolor using watercolor pencils:
Watercoloring is FAST& easy to do!
     a)    First, QUICKLY color in ALL of the images with the watercolor pencils. You do not need to color the images in completely or neatly; watercoloring is not meant to look neat & perfect. Just broadly color within the lines, but do not color right up to or over the lines. Watercolors have some white spaces here & there. Also, do not color evenly. Color using varying amounts of pressure on the pencils, leaving some areas darker & other areas lighter. Think about what the image would look like in real life with light shining on it. Color darker where you think there would be more shadow & color lighter in areas where you think the light would shine on them the brightest. Watercolors have a blotchy look to them. The varying shades of color give the images more life by adding dimension & shading. Color in the sky VERY lightly or your sky will come out too dark.
     b)    I used Stampin’ Up!’s watercolor pencils. The colors I used are:
         1.    Early Espresso: Barn roof, barn doors, path, fences, tree branches, wagon spokes, hitch, & trim
         2.    Old Olive: grass, pumpkin leaves & stems, grape leaves, leaves on front tree by barrel
         3.    Pumpkin Pie: pumpkins
         4.    Rich Razzleberry: grapes
         5.    Real Red: wagon
         6.    Early Espresso mixed with some Pumpkin Pie & Daffodil Delight: barrel
         7.    Daffodil Delight: barrel ring
         8.    Pumpkin Pie mixed with some Daffodil Delight & Real Red: leaves on trees by barn
         9.     Basic Grey: barn sides
         10.     Basic Black: wagon wheel hubs
         11.    Pacific Point: sky
     c)    Get a crumpled paper towel & keep it in your hand at all times to soak up any extra water& to wipe your brush clean.
     d)   Now QUICKLY apply water to the colored images. We are using regular cardstock, instead of watercolor paper,& cardstock is not as absorbent, so you will need to apply the water LIGHTLY. Do not saturate the paper or it will start to pill & possibly rip through.
     e)    If you are using an aqua painter style water brush, fill it with water and then lightly squeeze the barrel until water begins to flow to the bristles. Then squeeze the bristles together on the paper towel to soak up any excess water. You want the bristles to always be DAMP, not wet. This should be the ONLY time you will need to squeeze the barrel other than to clean the bristles. The water should slowly flow to the bristles on its own to keep the bristles moist. If at any point you have too much water on the paper, lightly DAB the paper towel (do not rub) on that part of your image to soak up the excess water. Then squeeze the water off the bristles into the paper towel so they are not so wet. You may need to do this often depending on how much water is flowing through the brush. If you are unsure of how much water is on your brush, wipe the brush against the back of your hand. The brush should feel damp& there should be hardly any water coming out of it. If the brush is leaving a trail of water on your hand, it is too wet.
     f)    Paint one side of the paper completely before turning your paper over to paint the other side. When doing so, you may wish to put a paper towel underneath the painted side of the paper to absorb some water & to prevent the paper from getting anything on it.
     g)    When painting, choose a color & then paint in ALL areas having that color before switching to another color. When switching colors, make sure to wipe your brush clean. You can press on the barrel a little bit so you have some water to help clean the bristles, but be sure to squeeze off any excess water from your brush before you begin painting again.
     h)   While painting, do not paint right up to, or over, the stamped lines. You do not want two different colors to touch each other or the colors will run together & turn into a yucky poopy color, & I’m sure you don’t want that. To prevent some of that from happening, don’t apply any water to the smallest areas, such as tree branches, wagon trim, wheels & hubs, pumpkin stems & leaves, grape leaves, & the small fences in the background.
6)   It should not take very long for your paper to dry. To lessen the drying time, you can wave your paper in the air or quickly wave a heat gun over it. It is not unusual for the paper to warp a little as it dries.
7)   Now for the cutting. Beginning about 1½” up from the BOTTOM of the card, cut towards the fence. When you reach the fence, cut along the outside edge of the image up to the fold line. Then cut along the fold line to the top of the card.
8)   Do the same for the other end of the card. Start cutting about 1¾” up from the bottom of the card towards the wagon. When you get to the wagon, cut all along the outside of the image up to the fold line, then cut on the fold line up to the top of the card.
9)   Fold the two side panels on the score lines so that they cover the center panel. Fold the wagon panel in first so that it is below the barn, then fold the fence & barrel panel over the wagon panel.
10) To finish, open your card up. Choose a sentiment & stamp it with StazOn ink towards the bottom of the center panel. Make sure that the sentiment is low enough so that it is not visible when the two flaps are folded over it.

I hope you'll give this card a try (using any of the Try-fold stamp sets from Art Impressions. If you do, let me know how it turned out and what you thought of it.

Also, if you have any other comments, questions, etc., let me know those too!

Enjoy your day!


Saturday, October 28, 2017

Thanksgiving Wood Crate


Hiya Everybody!

Today I am showing you another project I created for my October card class. This one is a Thanksgiving Wood Crate (made out of paper, of course!). The crate is made using the Stampin’ Up! Wood Crate Framelits. I used Soft Suede cardstock, stamped both sides with the Hardwood background stamp, and then diecut the crate out of it. It really looks like wood! At class, we filled our crates with Hershey Kisses.

If you would like the complete instructions, or even just a supply list, send me an email.

The crate is perfect for this time of year, but it can also be used all year long depending on how you decorate it. 

If you have any comments, questions, or suggestions, click on the comment button below and let me know!

I hope you’ll enjoy this project!

Happy crafting,
~Dawn


Fall & Thanksgiving Cards & Pumpkin Boxes 2018

Hello everyone! I am finally posting photos of the pumpkin boxes and Thanksgiving and Fall cards that I made for the shop! The shop is calle...